To Create an App ID
Step 1. Navigate to your out of the box ArcGIS Enterprise interface from Esri.
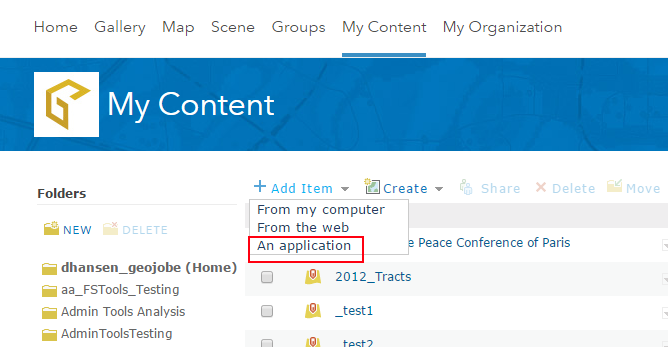
Step 2. Click "My Content" at the top of the screen.
Step 3. Click "Add Item" on the "My Content" Page
Step 4. Select "An Application" from the drop down.
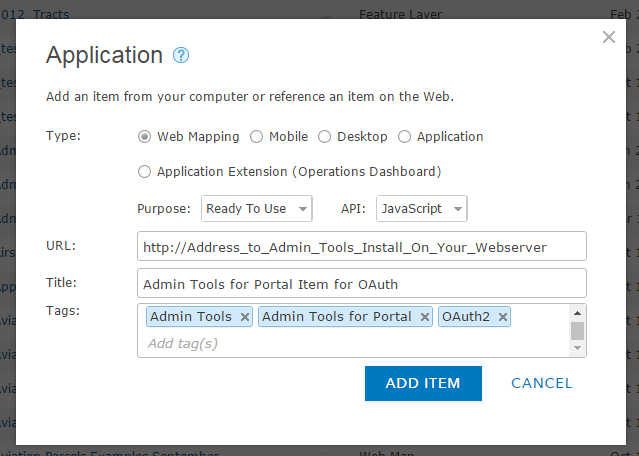
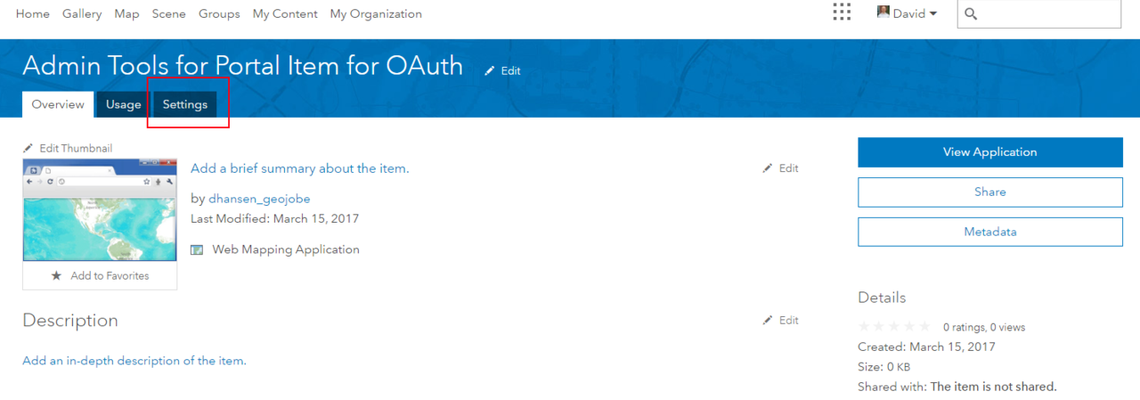
Step 6. Now that the item has been created, navigate to the "Settings" tab on the new item's "Item Details" page.
Step 7. Scroll to the bottom of the Settings page where the "App Registration" header is located and click the "Register" button.
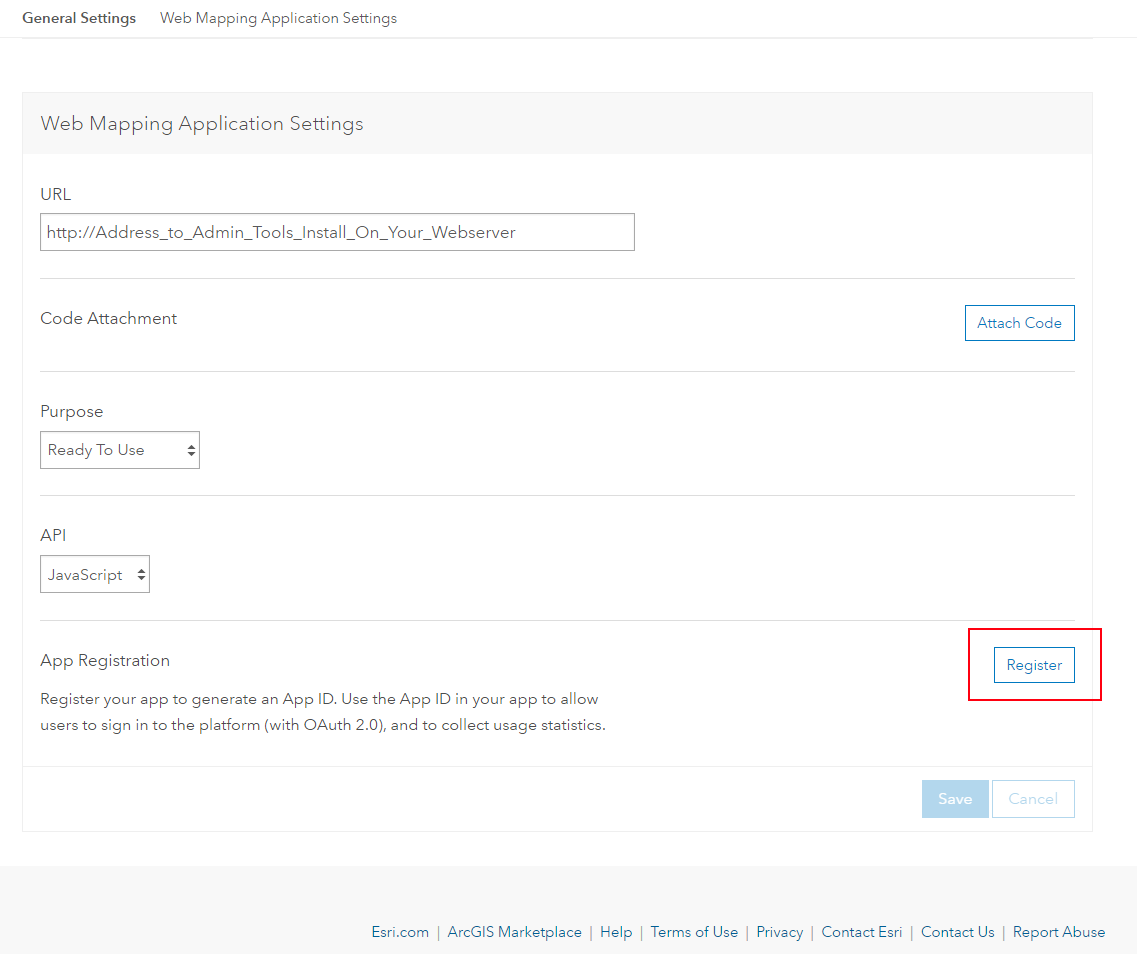

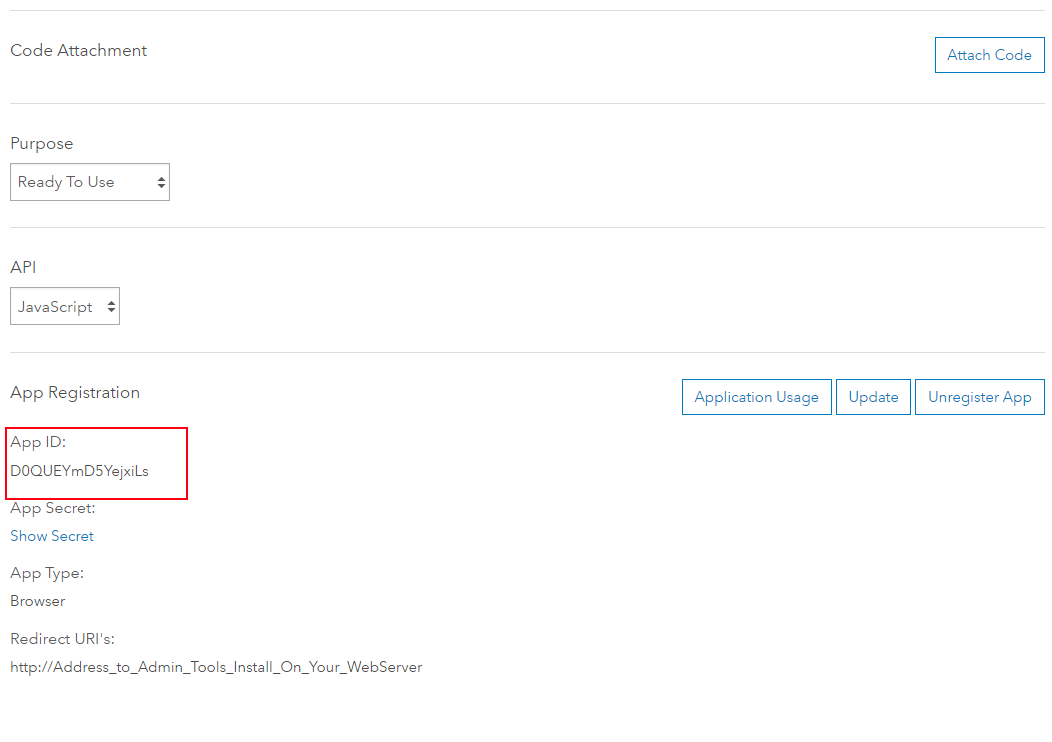
Step 9. Now that this process is complete, the "App Registration" section of the setting page should show an App ID that can be provided to the GEO Jobe support team to complete your build process. We recommend copying the app ID when providing these details to our support team, so we can confirm the information provided is accurate in preparing your build.
Related articles
-
Page:
-
Page:
-
Page:
-
Page:
-
Page: